Favicon (also called site icon) is a small image that appears next to your website title in the browser. It helps your visitors to identify your website:
This increases your company brand recognition among your frequent users. It also improves your website usability and user experience. When searching on the internet, most users have many tabs opened in their browsers. As the number of tabs increase, your website name hides. Exactly in this moment, favicon helps users to identify your website and quickly switch to the tab they need.
Creating a Favicon
Your brand logo can be used as your site icon or a favicon. The recommended size for the icon is at least 512x512 pixels. If you use a larger image, WordPress will allow you to crop the image when you add it.
In order to create a favicon you can use Adobe Photoshop or Gimp. This way you can create exact proportions, select a background (color or transparent). The favicon image can be in the png, peg or gif format.
Option 1: Adding Favicon in WordPress admin dashboard
Starting from WordPress 4.3, you can add a favicon in WordPress admin dashboard:
1. Log into the WordPress admin dashboard.
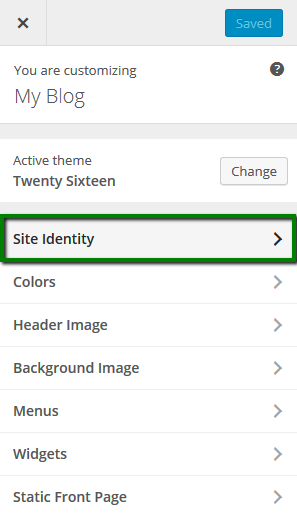
2. Go to Appearance > Customize > Site Identity tab: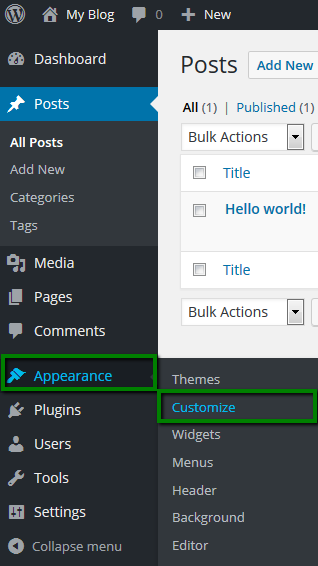
3. Click on Select image and then upload the image you wish to use as a favicon: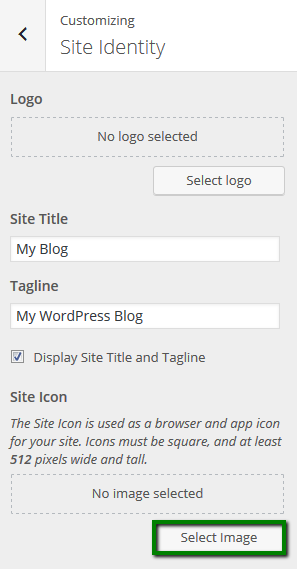
4. If the image does not reach the recommended size, you will be able to crop it directly in WordPress. You will also be able to preview the favicon on the website and on the mobile device:
5. Make sure to Save & Publish then: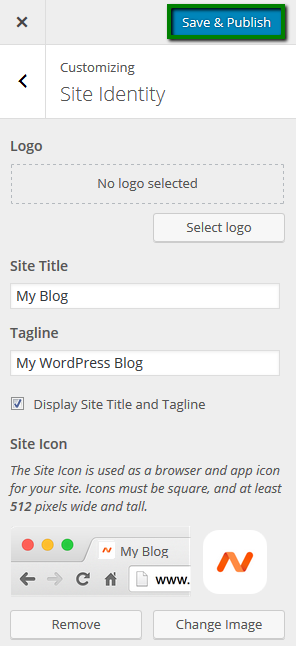
6. Now you can visit your website and see the favicon:
Option 2: Using All in One Favicon plugin
1. Log into the WordPress admin dashboard.
2. In the left-side menu, find Plugins > Add new menu and install the All in One Favicon plugin: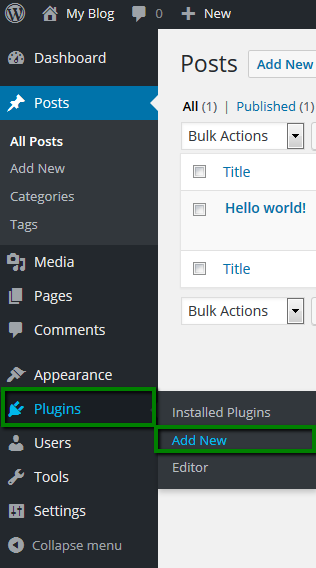

3. Now navigate Settings > All in One Favicon menu: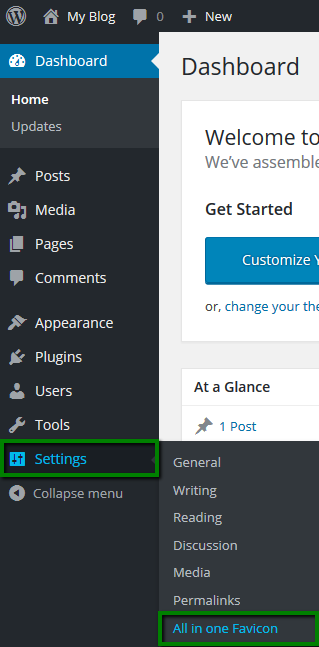
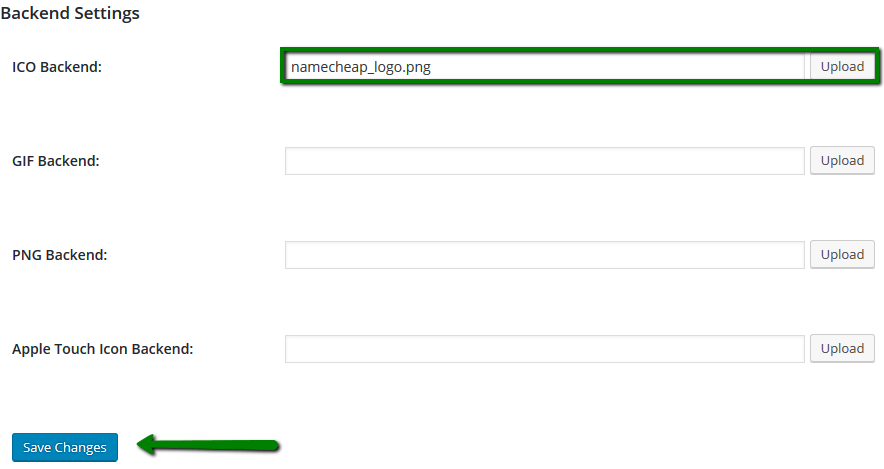
4. Upload the favicon to Frontend and Backend of your website and Save Changes: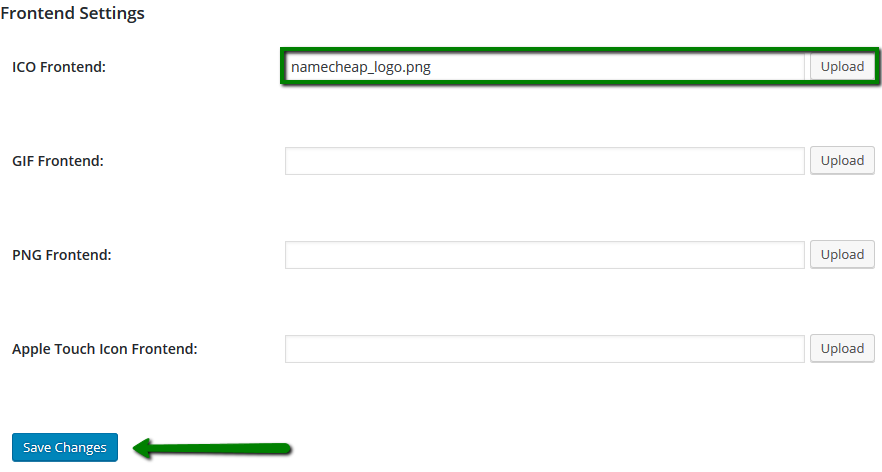
5. Refresh the page and you will see the added favicon: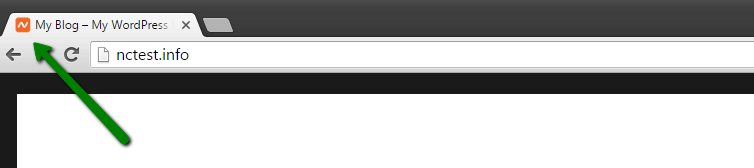
Option 3: Edit your theme header.php file
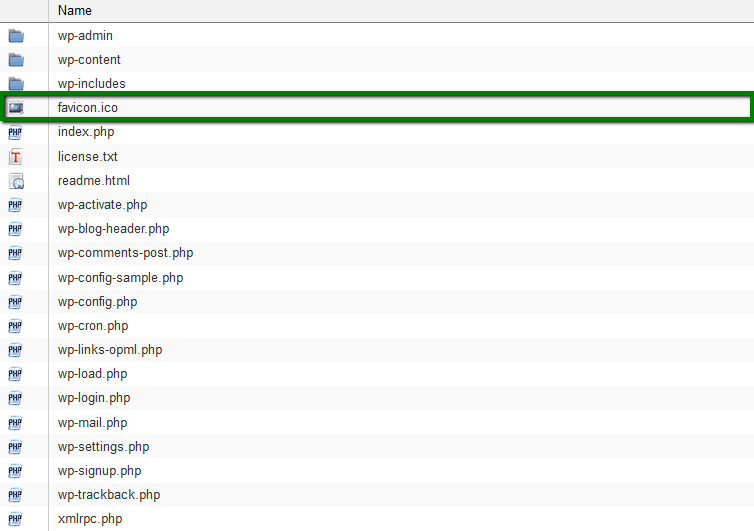
1. Make sure that your site icon file is called favicon.ico.
2. Log into cPanel > Files section > File Manager menu: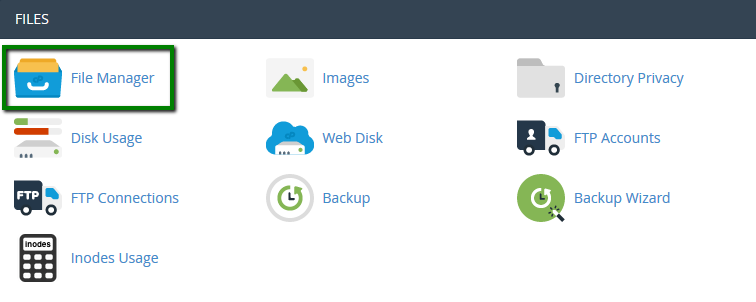
3. Navigate to the WordPress installation directory and upload the favicon.ico file: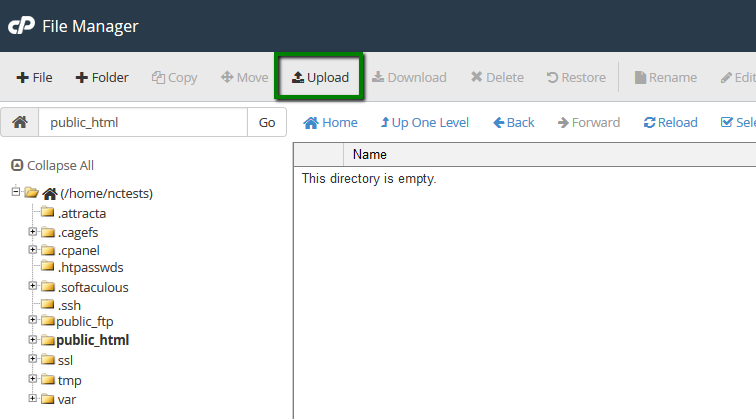
4. After that, your website favicon should be updated automatically:
5. However, in some cases a manual update is required as well. That may be caused by the peculiarities of your WordPress theme. To make the needed changes, log into your admin dashboard.
NOTE: Please make a backup of your theme before proceeding with the changes.
6. In the left menu, go to Appearance > Editor menu: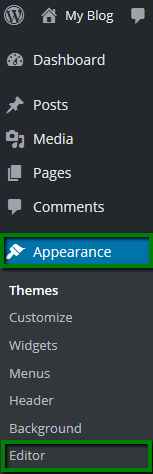
7. Select the Theme header file named header.php to edit: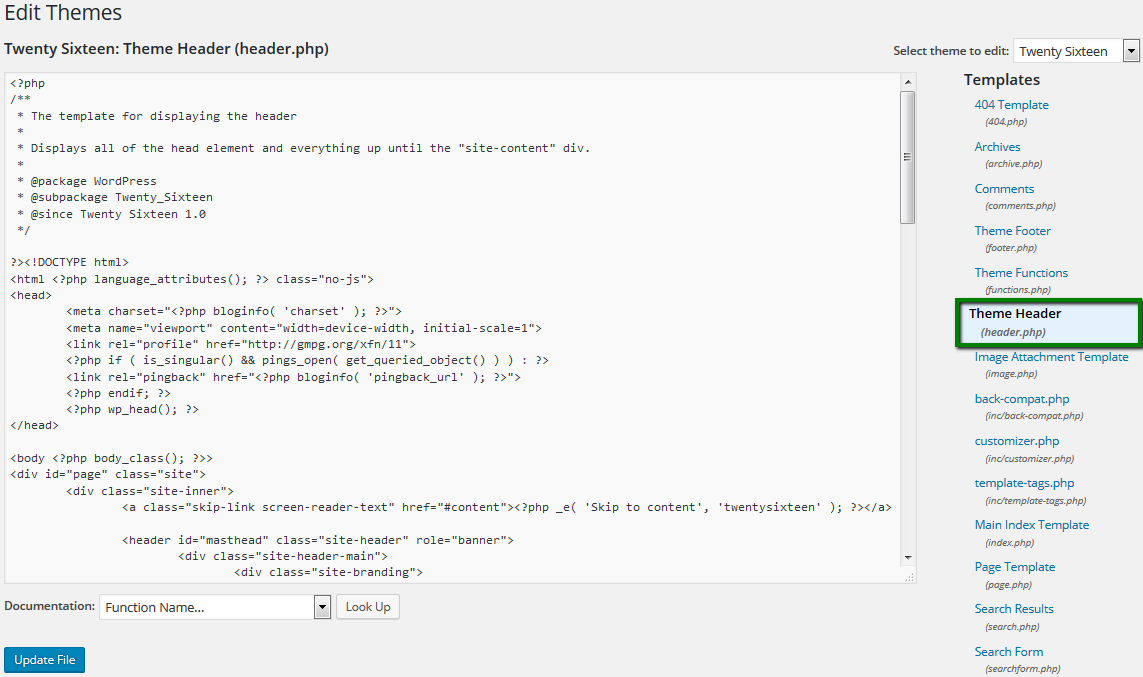
8. Find and edit or add following lines in the code as it’s shown in the screenshot: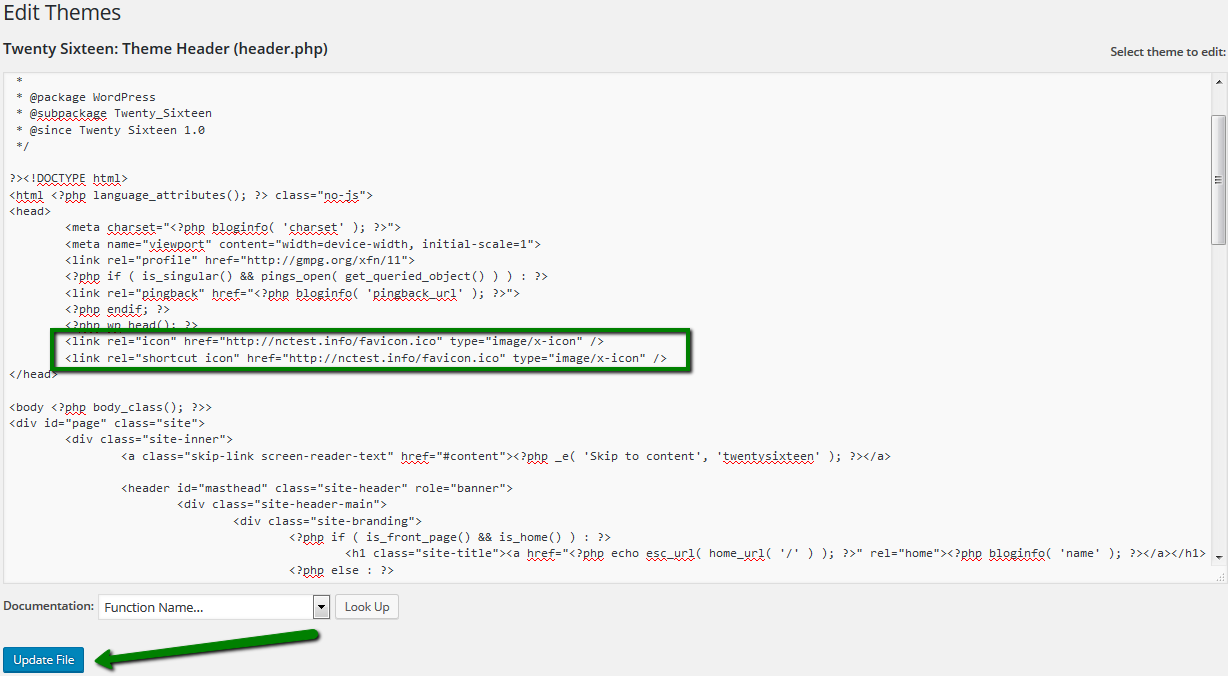
9. Then click on Update file and refresh the page.
That's it!
- 0 Users Found This Useful
