A theme is a fundamental aspect of the design if your site is built on WordPress. This is what the development of your website often begins with. This article contains instructions on changing your WordPress theme on Wvphost dedicated and shared hosting. These steps may also help those researching how to update a WordPress theme.
NOTE: Before proceeding with any changes, make sure that you generate a full backup of your website. If you've created your site using Softaculous script installer, feel free to refer to this guide as well (step #4 – Backup software). For subscribers to our EasyWP hosting plans, refer to instructions covering how to install themes on Managed WordPress.
Theme installation via WordPress admin dashboard (automated)
Theme installation via File Manager (manual)
Theme change through website database
1. Navigate to the Appearance menu on the left side >> Themes: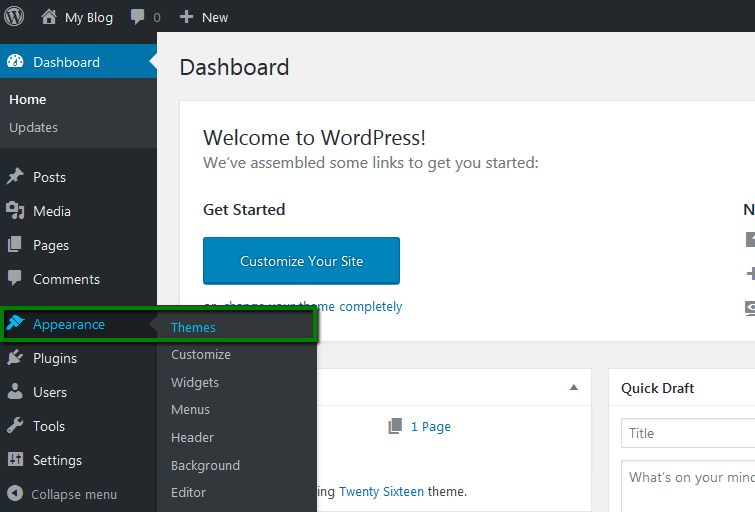
2. On the next page, you can manage your installed themes or install a new one. If you are going to install a theme, you hit Add New button: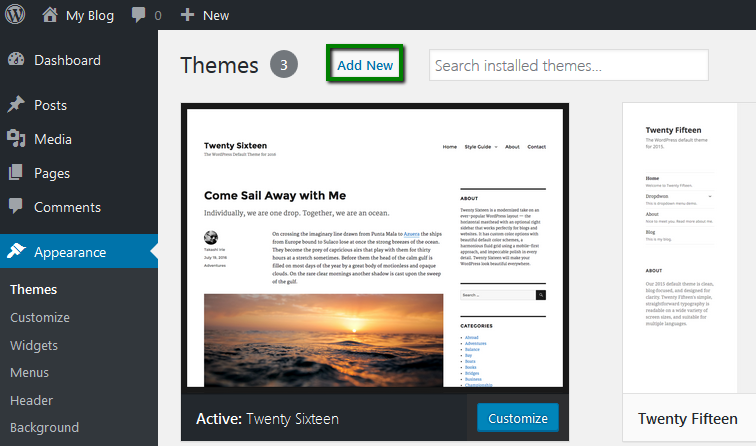
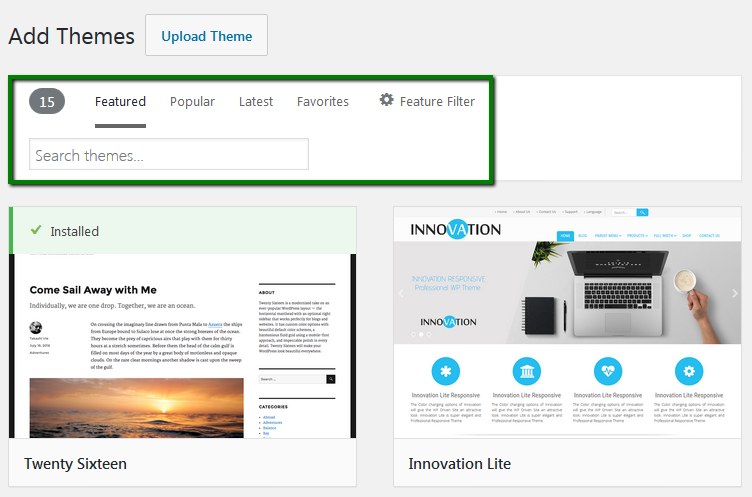
3. You will see the list of the themes available for installation. It is possible to do the following:
- Select Featured, Popular, Latest or Favorites ones to install
- Use the built-in Search if you need to find a certain theme
- Set certain filters by clicking on Feature Filter
4. After Feature Filter is selected, you will be able to narrow down your theme search by checking the necessary parameters.
You can search by Layout (1), Features (2) and Subject (3). Once selected, click on Apply Filters: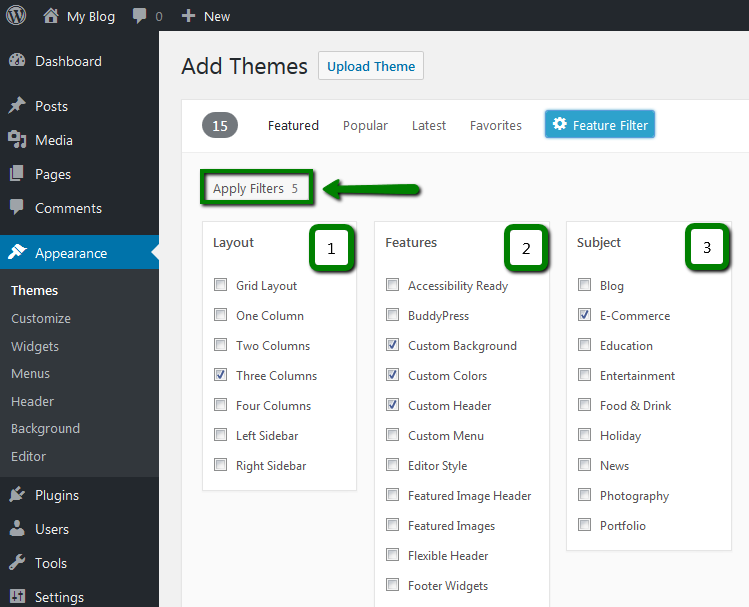
5. When the list of the themes you search for is displayed, you will be able to preview the one you like. To set it up, click on the Install button: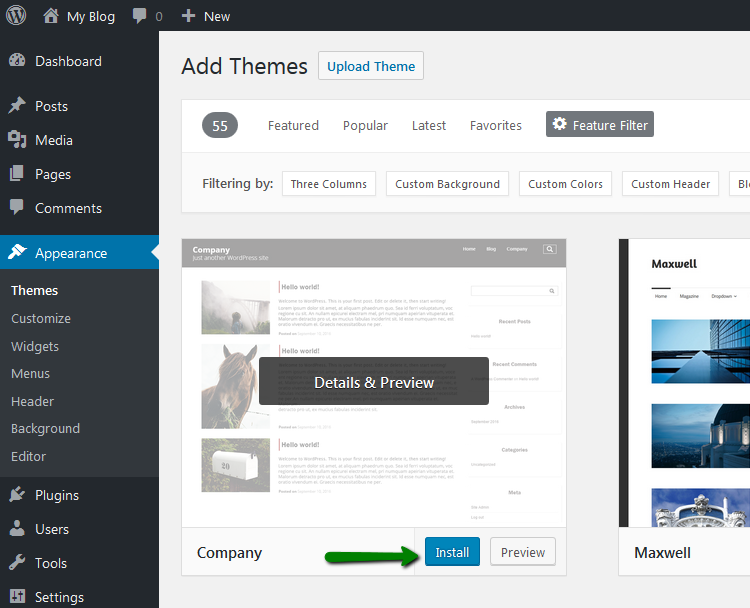
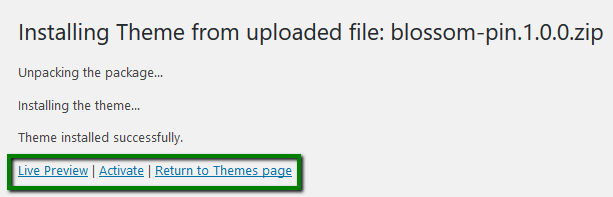
6. As soon as the setup is finished, you can activate the theme at once by clicking Activate: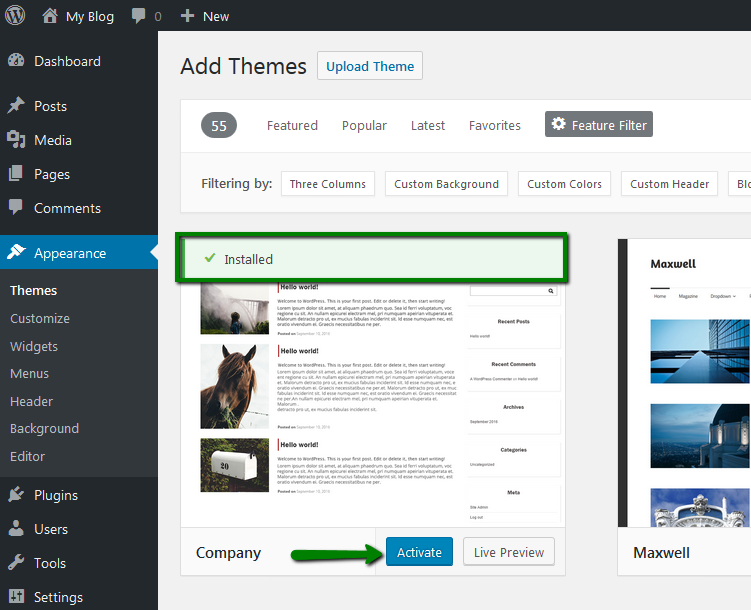
7. After that, you may start customizing it depending on your needs: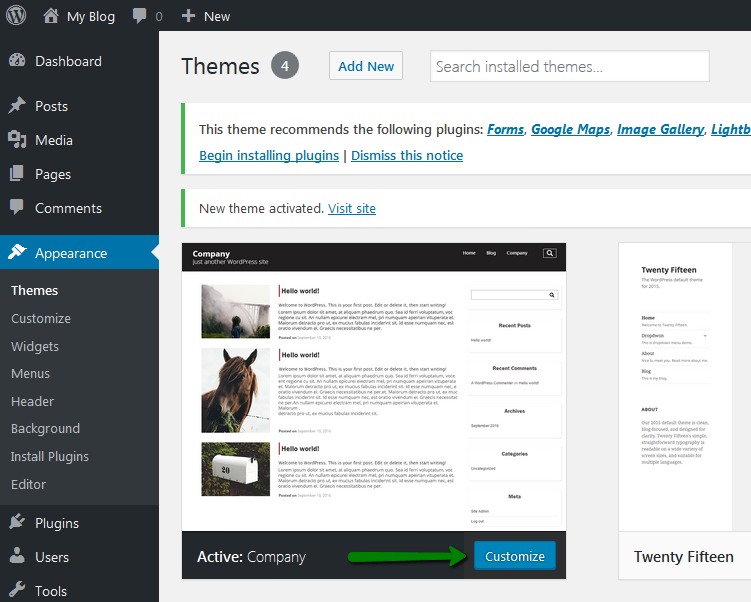
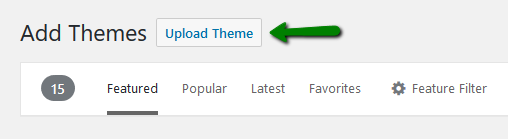
2. Click the Upload Theme button pictured below.

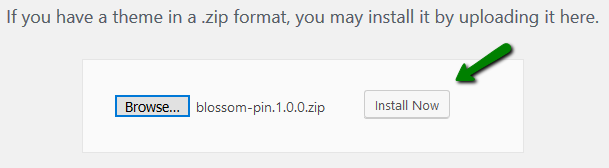
4. As soon as the theme is chosen, you can Install it.
Theme installation via File Manager (manual)
1. In order to upload a theme file to your account, log into your cPanel.
2. Navigate to the Files section >> the File Manager menu: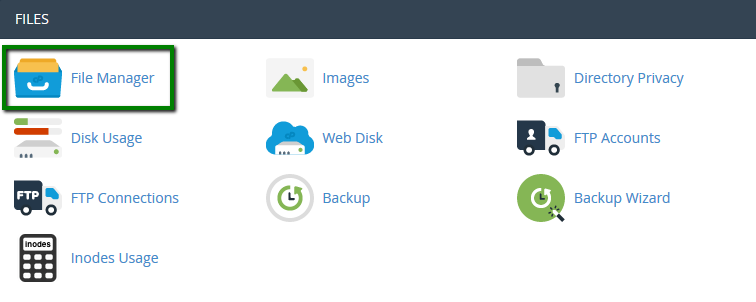
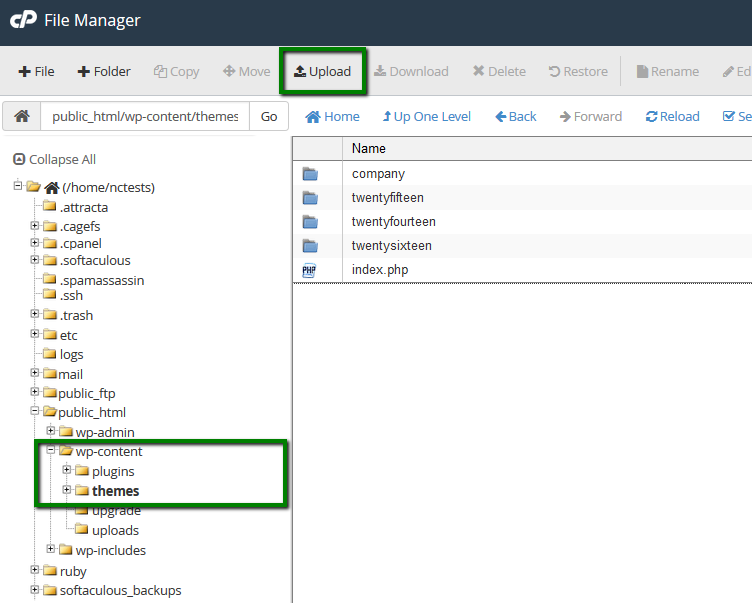
3. Move to the website directory root and locate /wp-content/themes/ folder. Click the Upload button, find your theme archive and upload it to the required directory:

4. Extract the theme files and make sure the theme folder is located in the right directory: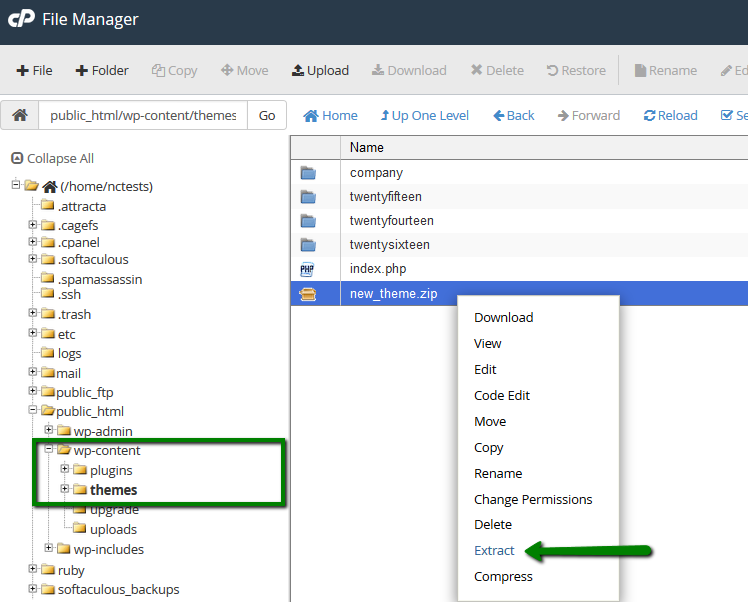
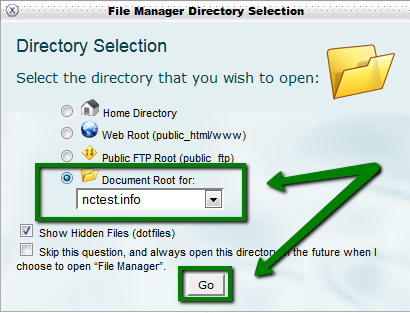
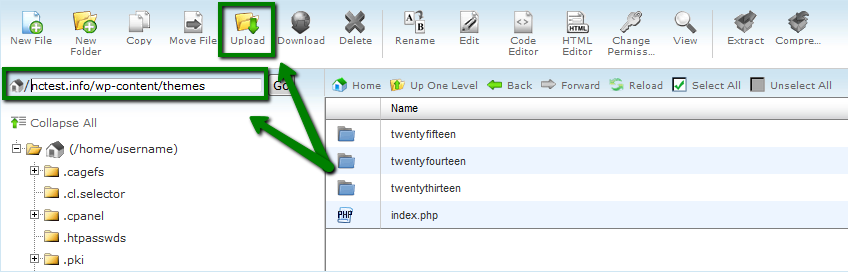
2. Once redirected to the website directory root, go to the /wp-content/themes/ folder. Click the Upload button, find your theme archive and upload it to the required directory:
3. Extract the theme files and make sure the theme folder is located in the right directory:
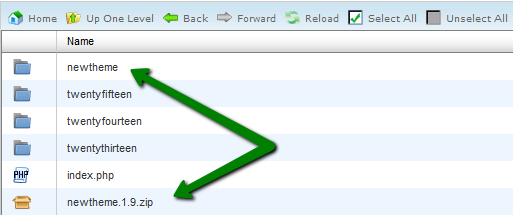
4. Access your WordPress Admin Dashboard then and navigate to Appearance >> Themes. Find a new theme you extracted and activate it.
Theme change through website database
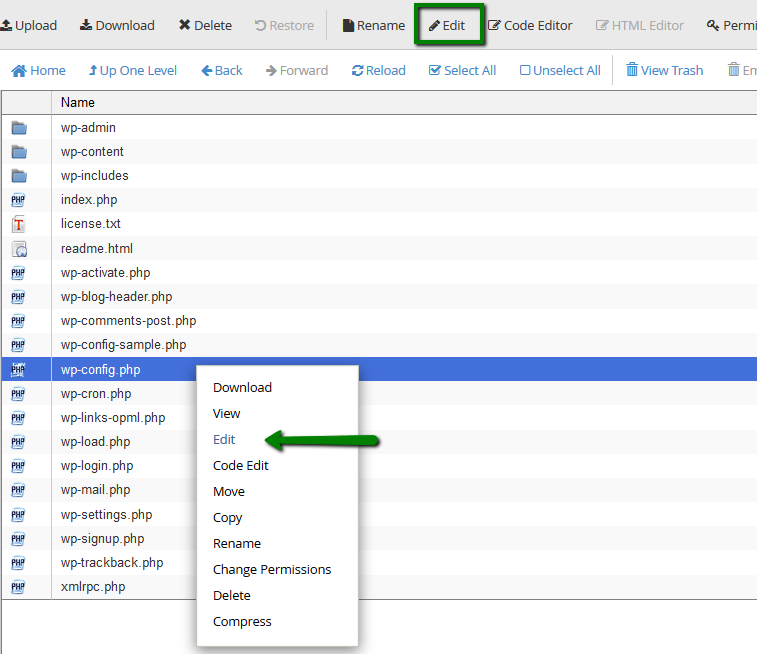
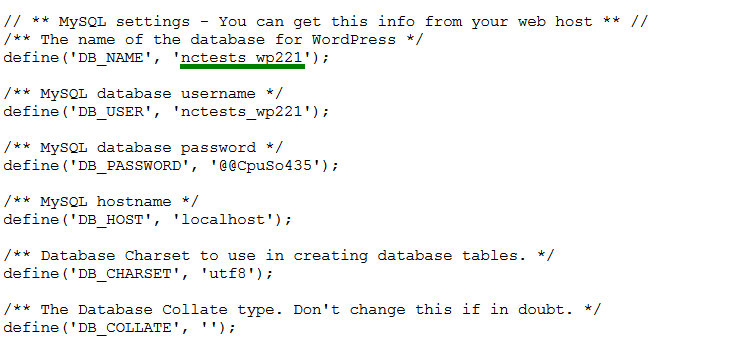
1. You can check what database is used for your WordPress website in the wp-config.php file located in cPanel >> the Files section >> the File manager menu in the root folder for your WordPress installation:
2. In order to access the database, you need navigate to Databases section in cPanel > phpMyAdmin menu: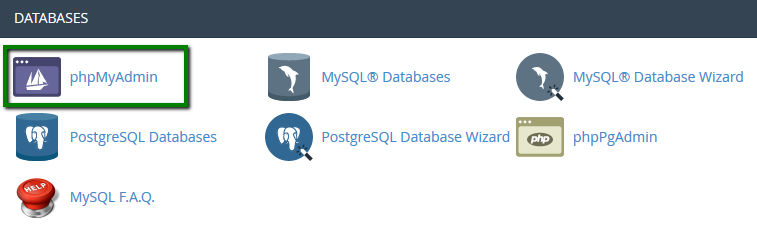
3. After that, you need to select a database which is assigned to this WordPress website in the left part of the window and select wp-options table: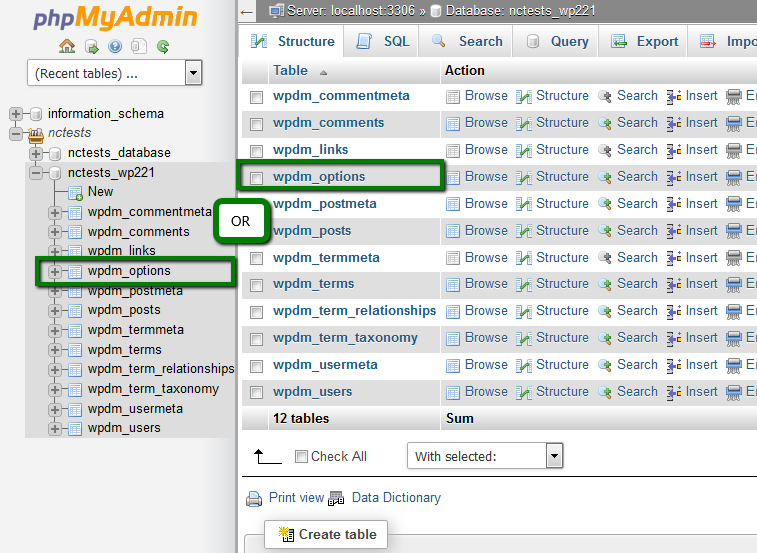
4. The columns (template and stylesheet) related to the activated theme are usually located on the second page: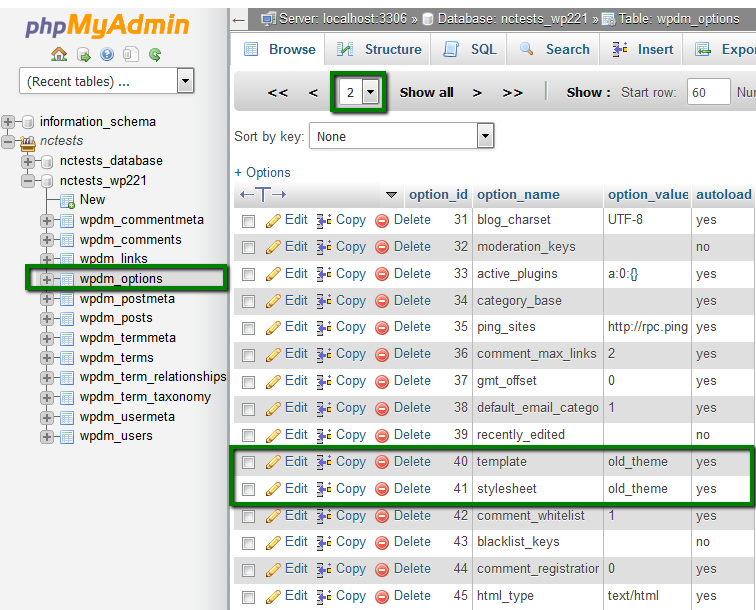
5. You need to change these values to the name of a default theme. For example, twentytwenty, twentytwentyone or twentytwentytwo:
1. Check what database is used for your WordPress website in the wp-config.php file located in cPanel >> the Files section >> File manager. Navigate to the document root of your WordPress website.
2. In order to access the database, you need to log into your cPanel, navigate to the Databases menu and click phpMyAdmin: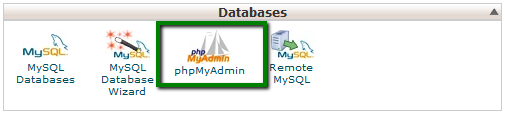
2. After that, you need to select a database which is assigned to this WordPress website in the left part of the window and select the wp-options table:
3. The columns (template and stylesheet) related to the activated theme are usually located on the second page, they are shown in the screenshot below:
4. You need to change these values to the name of a default theme. For example, twentytwenty, twentytwentyone or twentytwentytwo:
This will switch your theme to the necessary one. Now that you understand the steps needed to install a new theme with Dedicated and Shared Hosting, take a look at the additional benefits of Wvphost's optimized WordPress Hosting service, EasyWP.
That's it!
