Using special WordPress plugins allows you to change the WordPress default login URL. Since WordPress brute-force attacks have become more frequent, changing the default login URL will prevent attackers from accessing your admin login form.
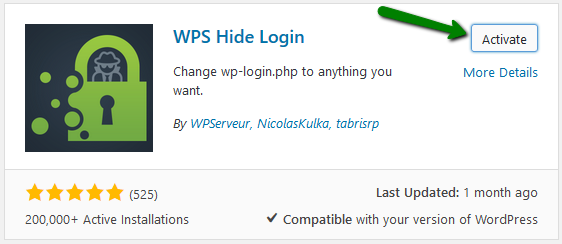
Following the steps below you will learn how to change the WordPress default URL using iThemes Security and WPS Hide Login plugins.
NOTE: Before proceeding with any changes, make sure that you generate a full backup of your website. If you've created your site using Softaculous script installer, feel free to refer to this guide as well (step #4 – Backup software).
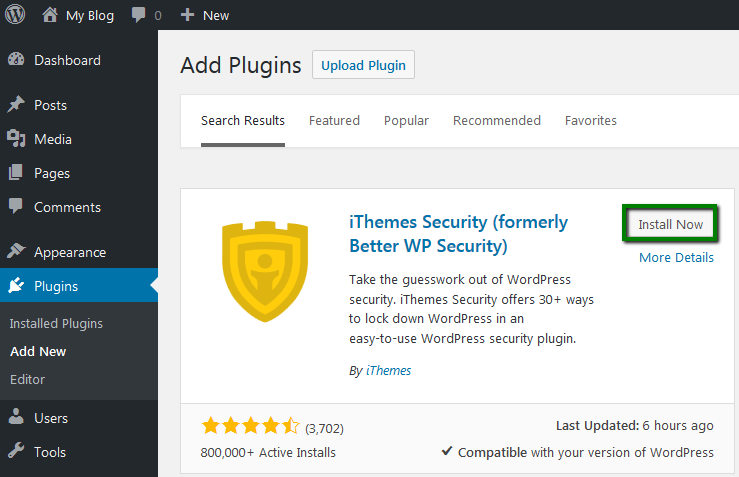
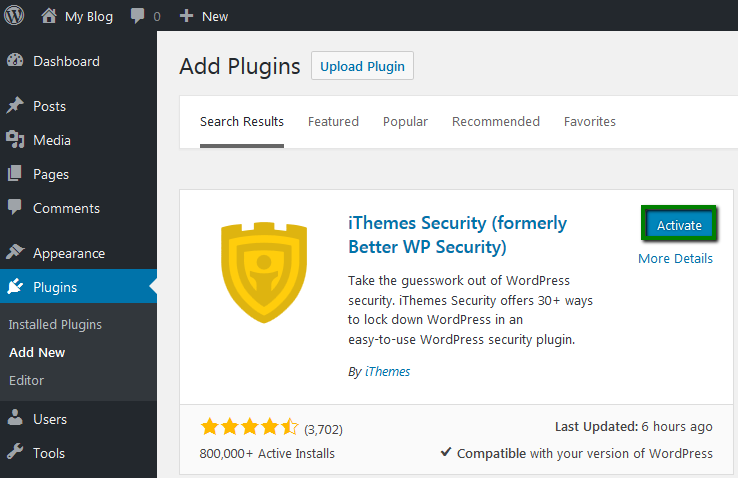
1. Install and activate the iThemes Security plugin: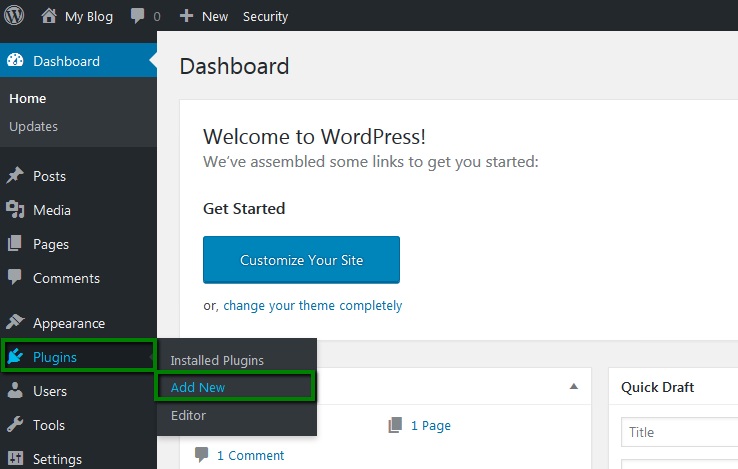
2. Navigate to Security >> Settings: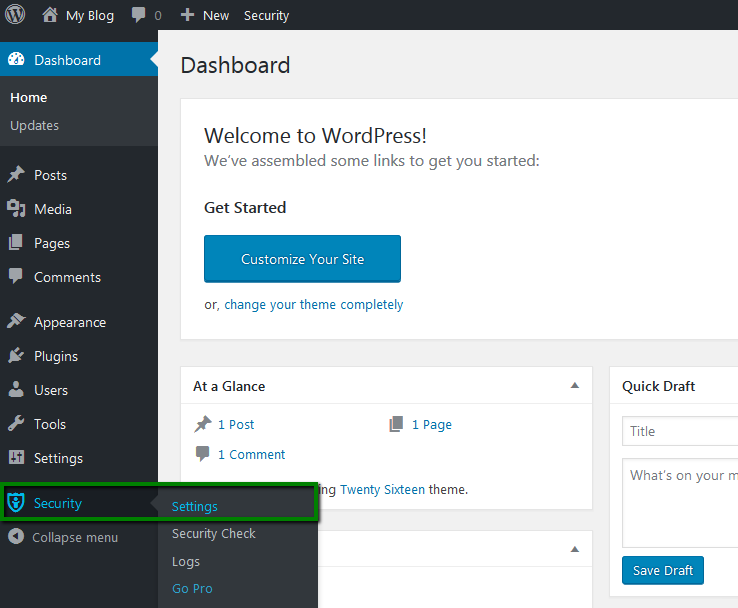
Choose All: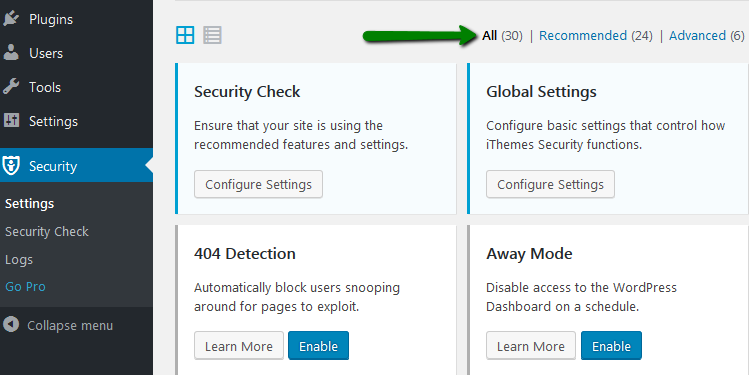
Locate the Hide Backend block and hit Configure Settings: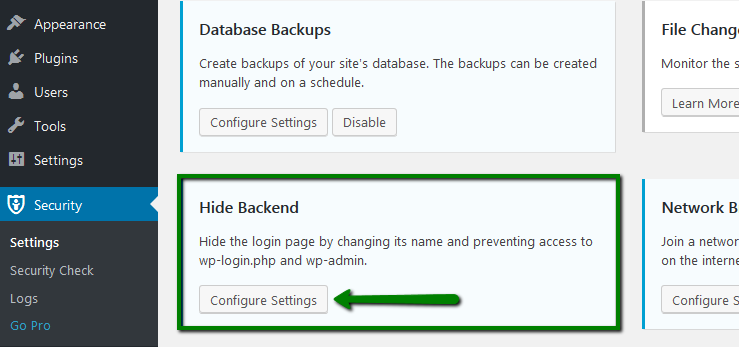
3. Enable the Hide Backend feature: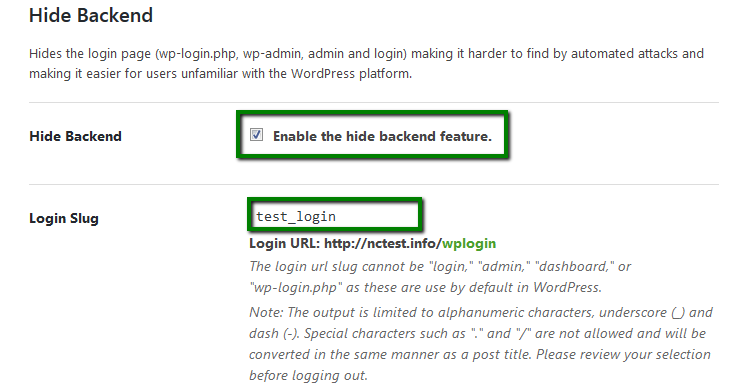
In the Login Slug field, enter your new login location.
Once your changes have been made, click Save All Changes.
Unfortunately, changing the login URL itself is not enough. Since the plugin also updates the Meta widget in WordPress with the new updated URL, it is needed to remove either the whole widget or just the Log in link: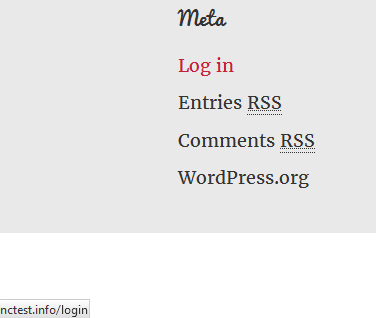
Removing Meta Widget from WordPress
1. Log into your WordPress Admin console and go to Appearance >> Widgets: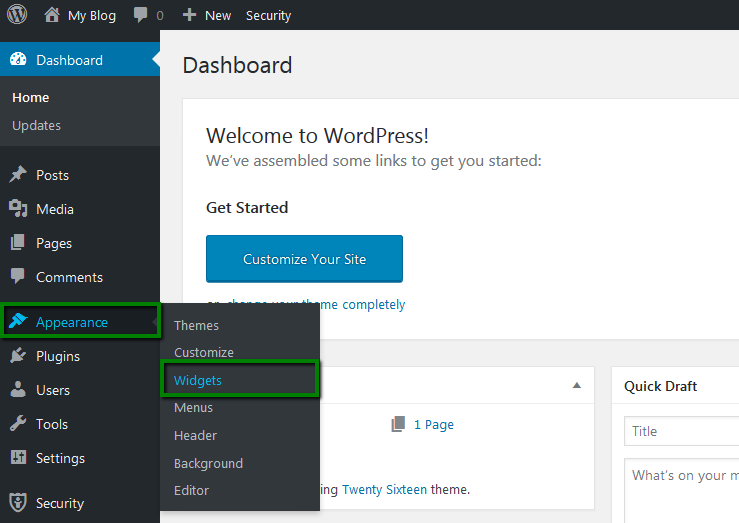
2. Click on the Meta widget, then hit Delete: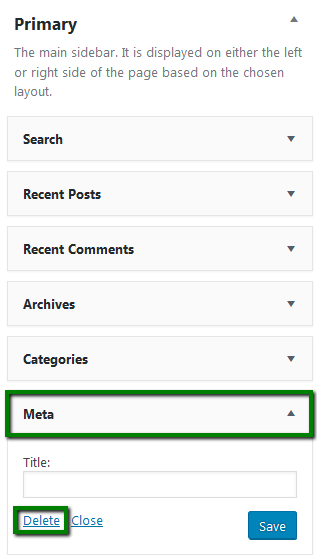
Removing the Login link
1. Log into your cPanel and use the File Manager menu.
Navigate to your /wp-includes directory. Right-click on the general-template.php file, then click Edit:
NOTE: make sure that you copy the general-template.php file before performing any changes. You can either download it to your local machine or copy/paste it to another directory within your cPanel.
2. Find the following line in the code:
$link = '<a href="' . esc_url( wp_login_url($redirect) ) . '">' . __('Log in') . '</a>';
Comment the line with two forward slashes //
3. Put the following code on the next line:
$link = '';
The final code should look like this:
function wp_loginout($redirect = '', $echo = true) {
if ( ! is_user_logged_in() )
//$link = '<a href="' . esc_url( wp_login_url($redirect) ) . '">' . __('Log in') . '</a>';
$link = '';
else
4. Go to your site. You should now see that the login link is gone from the Meta widget:


That's it!
