This guide describes how to edit the php.ini file on shared servers (Stellar and Stellar Plus plans, as well as old Value, Professional, and Ultimate plans).
If your account is hosted on the Business server (Stellar Business or old Business SSD plans), use this guide.
With the help of PHP Selector implemented on our Shared Hosting servers, you can easily modify basic PHP settings via your cPanel >> the Exclusive for Wvphost Customers section >> Select PHP Version menu. You can find detailed guidelines here.
However, advanced PHP settings are missing from the Select PHP Version tool and must be manually configured in the php.ini file. You can either create the file or upload the existing one to your account.
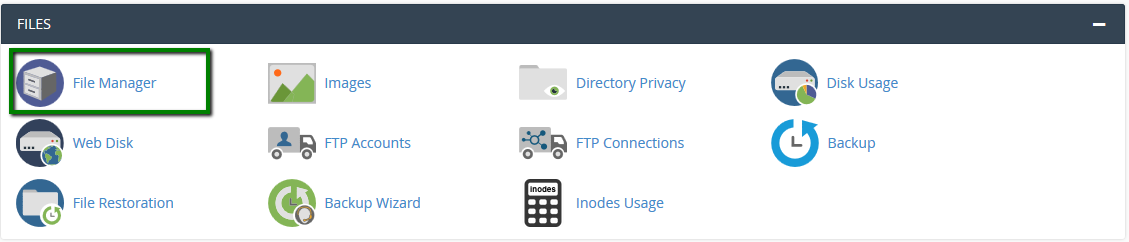
1. Log into your cPanel account, go to the Files section >> the File Manager menu.
For cPanel Basic Theme:
For cPanel Basic Theme:
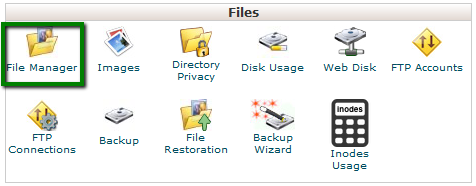
For cPanel Retro Theme:
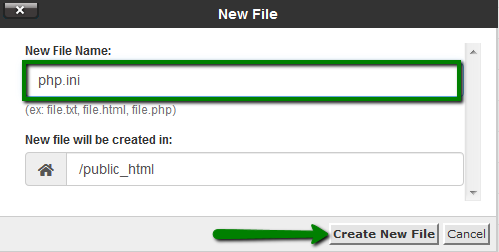
2. Navigate to the root directory of the domain, click on New File, and create a file named php.ini:
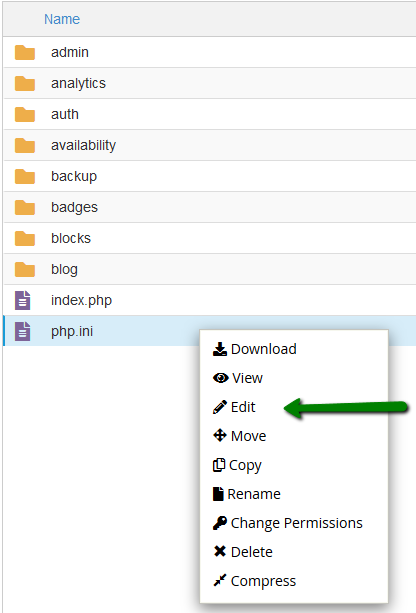
3. Find the newly created file in the list, right-click, and choose Edit:
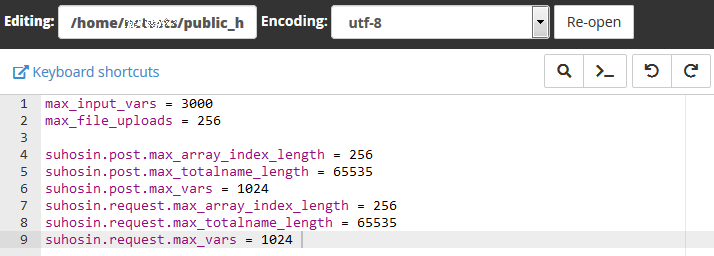
4. Add the required PHP settings and click on Save Changes in the top right corner:
When all updates are completed, make sure to add lsapi_phpini directive.
To check the current PHP version and configuration, refer to this article.
To check the current PHP version and configuration, refer to this article.
1. Log into your cPanel account, go to the Files section >> the File Manager menu.
For cPanel Basic Theme:
For cPanel Basic Theme:
For cPanel Retro Theme:
2. Navigate to the root directory of the domain name in question, upload the php.ini file that corresponds to your current PHP version. Feel free to download php.ini for different PHP versions below in the Attachments section at the end of the guide.
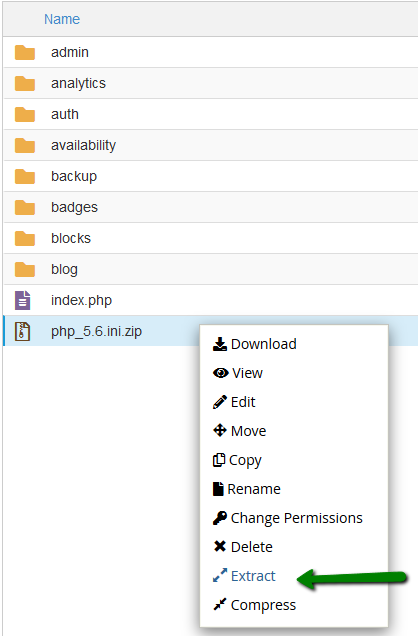
3. Once done, use the Extract option:
3. Once done, use the Extract option:
4. After that, right-click on php.ini.txt to Rename it php.ini, then another right-click to use the Edit option:
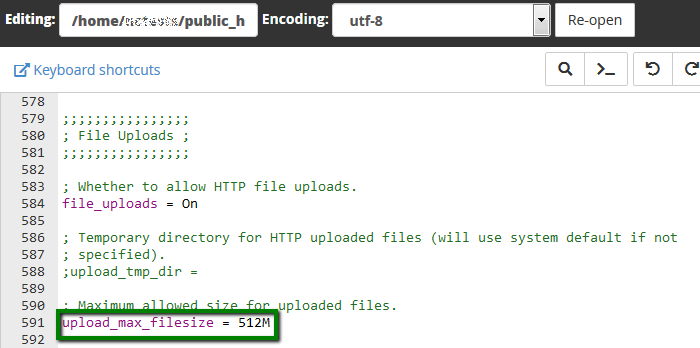
5. Here, you can use the search option and find the needed limit or value. In this example, it is upload_max_filesize.
6. Once all the required changes are made, click Save.
In order for the php.ini to work, add lsapi_phpini directive.
That's it!
In order for the php.ini to work, add lsapi_phpini directive.
That's it!
