WordPress uses a wp-cron.php file, located in the root directory of your website, as a virtual cron job. It’s a scheduled task to automate processes like publishing scheduled posts, checking for plugin or theme updates, sending email notifications, etc.
By default, every time a visitor opens your website, WordPress checks if there are any scheduled tasks to perform. When the website traffic is low, this cron job doesn’t affect the website performance much. But, if there are many visitors, checking for scheduled tasks every time, can slow down the website and lead to resource overusage.
How to disable WP Cron
1. Go to cPanel > Files section > File manager menu:
2. Navigate to the root folder of your domain (by default, it is public_html for the main domain and addondomain.tld for the addon domains). Select wp-config.php file and click Edit: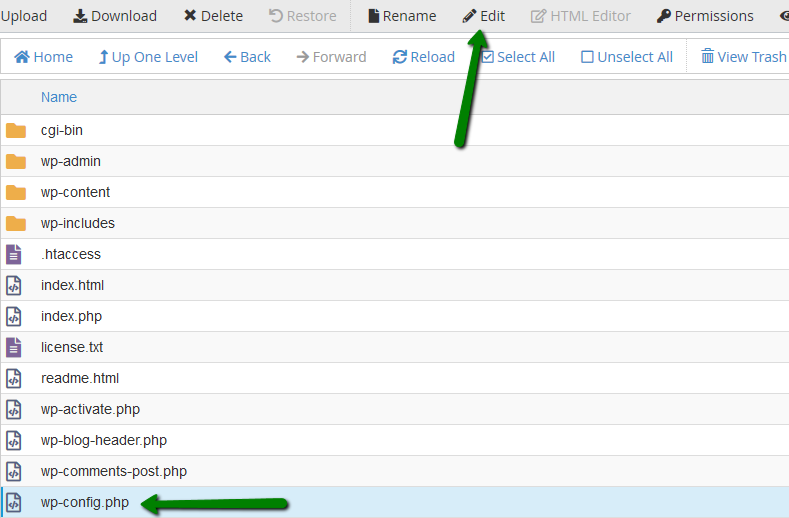
3. Find define('DB_COLLATE', '') and add the following code after that line:
define('DISABLE_WP_CRON', true);

3. Save the changes.
How to enable WP Cron
1. Go to cPanel > Files section > File manager menu:
2. Navigate to the root folder of your domain (by default, it is public_html for the main domain and addondomain.tld for the addon domains). Select wp-config.php file and click Edit:
3 Find define('DISABLE_WP_CRON', true); line and change it to:
define('DISABLE_WP_CRON', false);

4. Save the changes.
How to set up manual cron job for wp-cron.php
WordPress developers created wp-cron.php file to avoid situations when it is not possible to set up scheduled tasks on the server. However, this file can become a target of DDOS attacks. Also, some caching plugins can prevent the file's execution and lead to its incorrect work.
If you would like to avoid these situations and still run scheduled tasks in wp-cron.php, it is possible to set up a manual cron job to run the file:
1. Disable WordPress cron job system as described in How to Disable WP Cron part of this article.
2. After that, go to cPanel > Advanced section > Cron Jobs menu: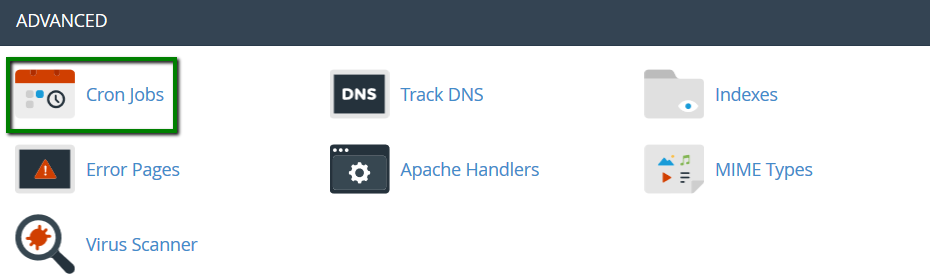
3. Add the following command to the Command field:
/usr/local/bin/php /home/cPanel_user/public_html/wp-cron.php
where cPanel_user is your cPanel username and public_html/wp-cron.php is the path to the file for your installation.
4. Set up time frames for the cron to run and click the Add New Cron Job button: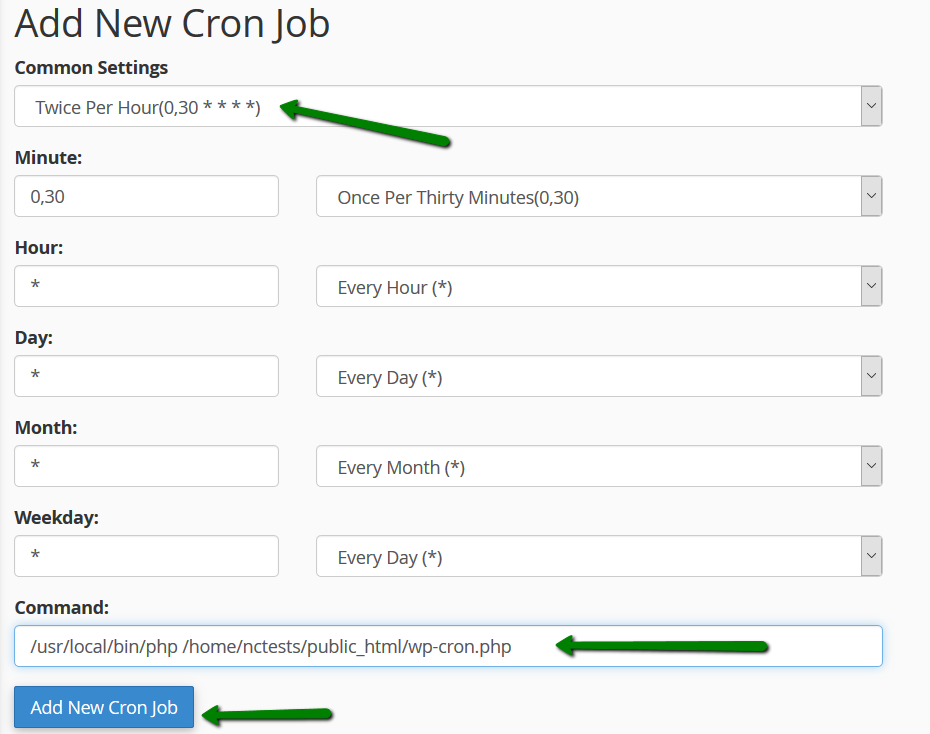
NOTE 1: According to our Acceptable Use Policy, running cron jobs with intervals of less than 5 minutes or setting up more than 5 simultaneous cron jobs is not allowed on all shared servers.
NOTE 2: If you do not add >/dev/null 2>&1 at the end of the command, the server will send an email notification each time the cron job runs. While it may be useful for testing purposes and monitoring, if not attended, such emails will be accumulating in the email account specified in the Cron email field. If it is one of your cPanel email accounts, this may significantly increase inode count. More details about how to work with cron jobs can be found in this article.
That's it!
